Spring is the perfect time to get a fresh start, especially in the garden. Today, we’re excited to share a list of to-dos to help you get ready for a great season in your yard.
Inspect garden tools and replenish supplies.
Before the spring growing season takes off, it’s a good idea to inspect your tools and replenish your supplies. Regular maintenance of your garden tools will not only keep them in the best possible condition but also help them last longer. It’s especially important to clean your tools so that you don’t spread last year’s fungus or insect eggs into your new garden.
Cleaning tools: First, go through all your tools and consider which ones need fixing or replacing, and purchase any additional tools. Then, give your tools a good wash. Remove any rust, and wash them with warm water and mild soap. Use a hose to clean larger pieces of equipment such as shovels and rakes. For tools with wooden handles, use a wire brush and damp cloth to remove any dirt or residue, let them dry, and apply mineral oil to keep them in good condition.
Tool maintenance: Once cleaned, sharpen the edges of shovels, trowels, and hoes. Use a mill file to sharpen blades, oil hinges, and add a penetrating oil to remove and prevent corrosion.
Replenish your supplies: Make sure you have enough soil and fertilizer available. Replenish any necessary plant items like pots, planters, and vine supports, and assemble any structures such as tomato cages, shepherd’s hooks, or window boxes.
Prepare your seed beds and lawns.
Before you begin planting any flowers or vegetables in your garden, prepare your lawns. The best time to start working on your garden is after the first frost, but you want to avoid working on soil that’s still frozen or wet. Walking over soil that’s saturated with water can cause compaction, which leads to poor root growth as plants struggle to get enough water and nutrients. Allow your garden to dry up before you start working on it. If for some reason you need to access a certain part of your garden, lay down a plank of wood where you intend to walk to help distribute your weight evenly and avoid compacting the soil beneath.
Start treating dead lawn patches.
Once the snow melts, you might see some dead patches on your lawn, especially if you have a dog. To fill in small patches, rake up the dead grass and use a hand rake to loosen up the top layer of the soil. For larger areas, aerate the area with a garden fork. Then spread grass seeds over the entire area, being sure to blend them in with the surrounding areas. Lay a thin layer of soil on top and pack it down softly. You want the seeds to make contact with the soil while avoiding compaction. Next, add a bit of fertilizer to the soil and gently water the area. Water the grass daily until the new grass is well established.
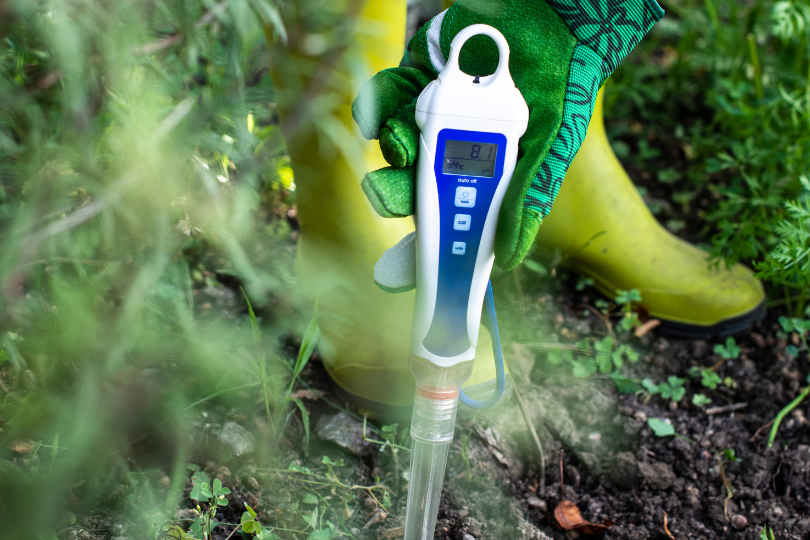
Test your soil.
A healthy garden starts with good soil. In order to thrive, plants need sunlight, water, and quality soil. It’s important to have the right pH level in your soil, as it will enable your plants to absorb the necessary nutrients to survive. A high pH level means that nutrients like phosphorous and iron aren’t readily available, while a low pH level is toxic to plants. Test your soil at least every 3 years to ensure it has the right pH balance and mix of nutrients. You can purchase a soil test at your local garden centre or ask a lawn care or landscape professional to test it for you.
Fertilize the soil.
The best time to fertilize your soil is mid-April when the grass starts to grow and turn green. Pick a slow-release or controlled-release fertilizer to increase nutrient absorption, and follow the instructions on the label. Too much fertilizer can harm your lawn, and too little fertilizer won’t yield results. Be sure to fertilize trees and shrubs as well. Most plants, trees, and shrubs will benefit from a slow-release fertilizer before mulch is applied.
Inspect your irrigation equipment.
Consistent watering is essential for a successful garden. Once the weather warms up, inspect your hoses and sprinkler attachments to ensure that they’re in working order. Replace any worn-out parts. Consider an underground irrigation system for optimal results. Underground irrigation systems water plants at a slower pace, instead of drowning them like sprinklers often do. The soil can better absorb the water, resulting in less erosion and water runoff.
Plan your garden.
Planning out your garden is one of the most enjoyable parts of the process. However, before running off to your local garden centre to buy seeds and plants, some things you’ll need to consider are the space constraints of your garden, how much sun exposure you get, what soil type you have, and the growing habits of each plant.
Prevent pests.
Garden pests come in all shapes and sizes. However, there are some preventative measures you can take now to stop them from getting out of control. Research common garden pests in your area and figure out what they’re attracted to, and then make plant choices that are less appealing to them. You can also encourage predators by planting a variety of native plants that support beneficial insects like ladybugs that eat aphids, or snakes to eat rodents. You can also invest in some good traps or non-toxic chemical treatments to stop pests, or consider adding netting, fences, or row covers to protect your plants.
Clean flower beds.
Once you’ve come up with a plan, tidy up your garden plots, raised beds, and planters. Rake up any old leaves, fallen sticks, dead vegetation, and debris until you’re back to the bare soil. Create clean, natural edges around the beds using an edging tool.

Control weeds.
Weeds can grow rampantly and compete with your plants for water and nutrients. Pull any early weeds that may have sprung up. Make a spray bottle with warm water, salt, vinegar, and liquid dish soap and liberally spray any weeds growing between hardscape cracks. Apply pre-emergent weed control for weeds in the garden.
Prepare the soil.
Over the winter, soil can become compacted so you’ll want to loosen it up. Use a garden fork or sharp spade and work the soil to a depth of 12-14 inches. Any mulch that is well-composted should be worked in — otherwise, it needs to be removed to the bare soil.
Add organic compost and amendments.
Replenish the soil with compost at the beginning of the growing season. Compost helps to improve the soil’s texture, moisture retention, and nutrient content. It also creates the perfect habitat for beneficial microorganisms and insects. If you don’t have your own compost, you can purchase some from your local garden centre. Layer the compost 1-2 inches on top of the soil and mix it into a depth of 6 inches. Then rake the soil gently and water it lightly to help it settle and release air pockets. Refresh planters and pots with fresh potting mix or top-dress them by spreading a thin layer of compost over the soil.

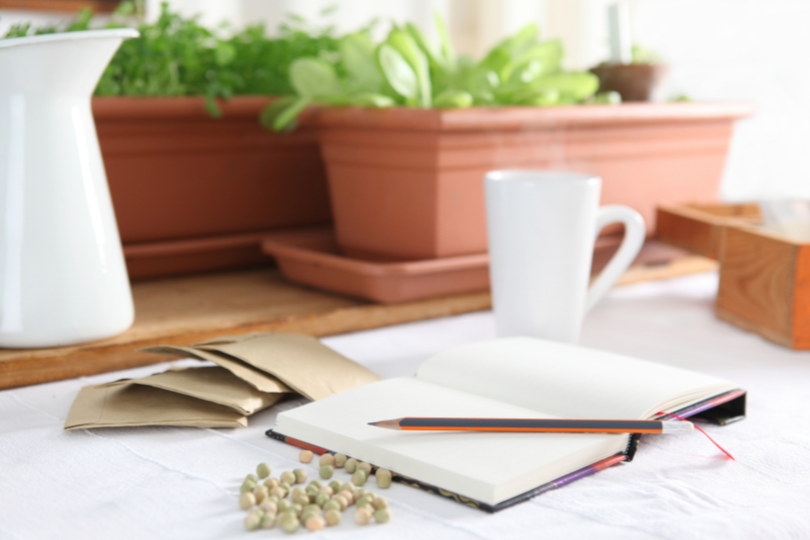
Source your seeds.
Once you’ve planned out your garden, it’s time to source some high-quality seeds. Check your inventory for any old seeds or bulbs you may want to use this season (note that germination rates decline the older the seeds are) or visit your local garden centre, nursery, or plant shop. Local shops will often stock varieties that do well in your growing zone. Choose seeds that will do well in your particular garden based on the amount of light and type of soil. Hold off on purchasing any live plants until the weather warms up.
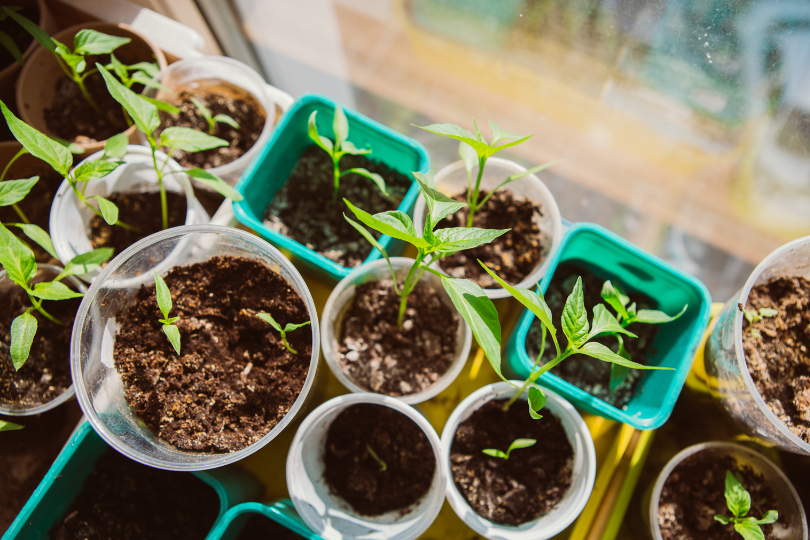
Start transplants.
You can get a head start on your planting by growing transplants indoors. Check the back of the seed packet for directions on when to start your seeds indoors versus outside in the garden. Depending on the type of plant, you may want to start your seedlings anywhere from 2-12 weeks before the last frost date. Plant your seeds in starting trays according to the directions on the packet. Place the seeds in an area of your home that’s warm with lots of light, and keep the soil moist. About a week before you plant them in your garden, begin moving the starting trays outdoors for a few hours each day and bring them in at night, so that they get used to the conditions outside. This process is called œhardening off. Many plants can be started indoors this time of year for planting out in spring, including hardy vegetables such as arugula, lettuce, kale, onions, and potatoes.
Start doing early planting.
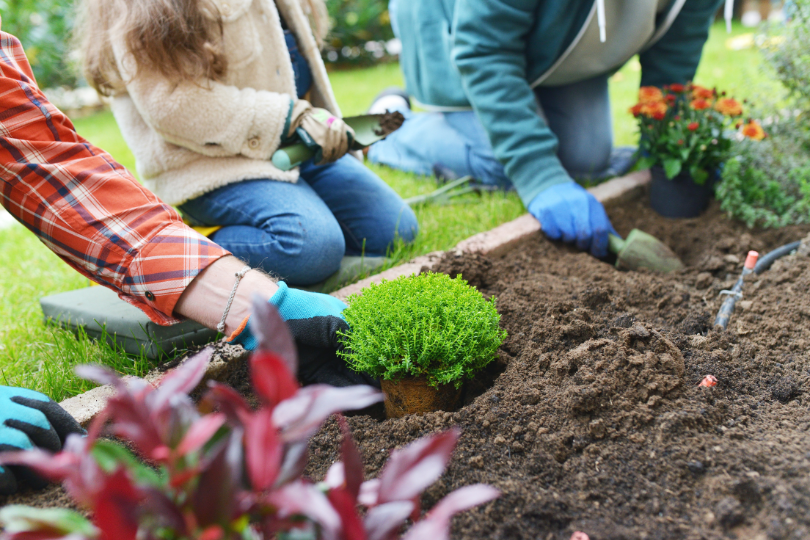
Local frost dates will determine the best time to plant annuals and vegetables in your garden. In Ontario, the final frost is usually around the time of Victoria Day weekend at the end of May. For annuals that you plan to transplant from pots, flats, or six-packs, it’s ideal to plant when the last frost date is passed.
Bulbs and perennials: Spring is a great time to plant pollinator-friendly perennials such as coneflowers, gentians, marigolds, black-eyed Susans, Canadian white violets, and so on. Bulbs and perennials are pretty easy to plant. Dig a hole at the proper depth and spacing, add any necessary soil amendments, drop in the bulb or root ball (making sure that the crown is right at soil level), and then fill in the hole and water thoroughly.
Over the years, you may find that some perennials like daylilies and hostas tend to crowd each other out and deteriorate over time. You’ll want to divide these perennials before the growing season takes off to give them room to spread. Dig around the area, taking care not to damage the roots. Dig under the root ball and take it out of the ground. Detangle the roots by hand and pull apart root stocks and tubers. Space out the new divisions over a larger area and replant them.
Annuals: Annual plants only last for one season. They can be planted the same way as perennials after the last frost. Tender annuals should be planted later in the spring or early summer when the temperature is warm.
Fruits and vegetables: Like perennials and annuals, you’ll want to ensure you have the proper soil, water, and sunlight requirements to grow your favourite fruits and vegetables. Plant fast-growing varieties in planters or containers for a speedy harvest. For a longer harvest, stagger your sowing by planting a few seeds every few weeks to keep your fruits and vegetables growing all season long. Rotate crops to prevent disease and pests. Hardy plants like potatoes can withstand the frost and can be planted directly into the ground in early spring, while tender plants like tomatoes and peppers should be started indoors and moved outside in late spring or early summer.
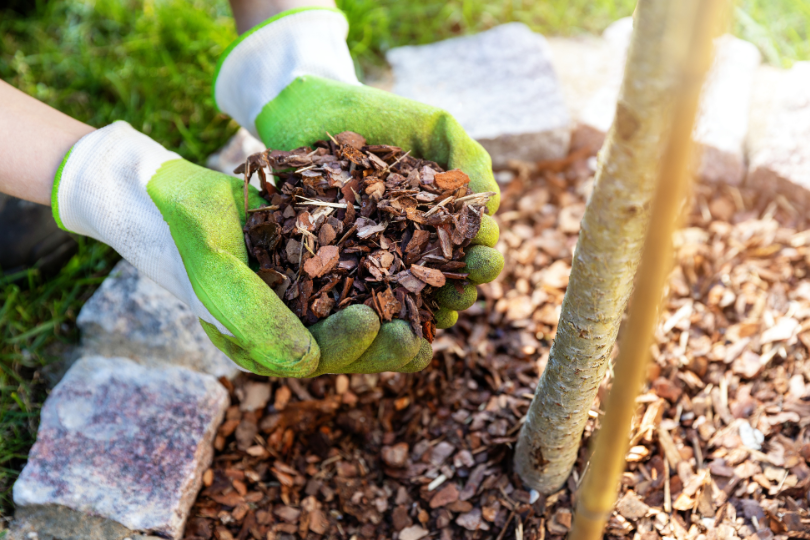
Apply mulch.
Once you’ve got everything planted, add an inch-thick layer of mulch to plant beds and around trees (while avoiding touching tree trunks) to a depth of no more than 3 inches. Mulch is effective at keeping weeds at bay, so the sooner you can add the mulch the better. It also makes garden beds look neater while helping to retain essential moisture in the soil. Mulch keeps roots cool in the summer and insulated during winter. It also adds organic matter to the soil as it decomposes, enriching the soil with nutrients.
Perform deadheading.
Deadheading is the gardening term for removing dead or fading flowers from plants. Deadheading keeps your plants looking fresh and beautiful, but also helps to improve their performance. During blooms, the majority of growing energy goes into the seeds and buds, but regular deadheading channels energy back into the flowers, resulting in continual blooms and healthier plants. To deadhead your flowers, cut off or pinch the flower stem below the faded flower and above the first set of healthy leaves, being careful not to remove any flower buds. Start deadheading in late spring.
Prune trees and shrubs.
Inspect your trees, bushes, and shrubs. Look for any broken or damaged branches and prune them. Late winter/early spring is the best time to prune back older wood, ideally after the coldest weather has passed but before buds start to form. Some of the plants you want to prune at this time of year include butterfly bushes (aka summer lilac), flowering dogwood, honeysuckle, hydrangea, redbud, summer-blooming spirea, roses, and wisteria. Plan to prune your fruit trees 6-12 weeks before the last frost date. To prune trees and shrubs, use clean, sharp shears, loppers, or a saw to cut away any dead or damaged branches, remove crossing branches, and shape the plant. Add a bit of fertilizer to the soil to help plants get enough nutrients to recover. Plants that you should wait until after the bloom season to prune include spring-blooming spirea, camellia, rhododendron, forsythia, hydrangea, lilac, magnolia, kalmia, and weigela.
Plan for maintenance.
A thriving garden requires regular maintenance that includes watering, deadheading, weeding, harvesting, managing pests, and more. Don’t plant more than you can handle, and have a plan for who can tend to your garden if you’re out of town.
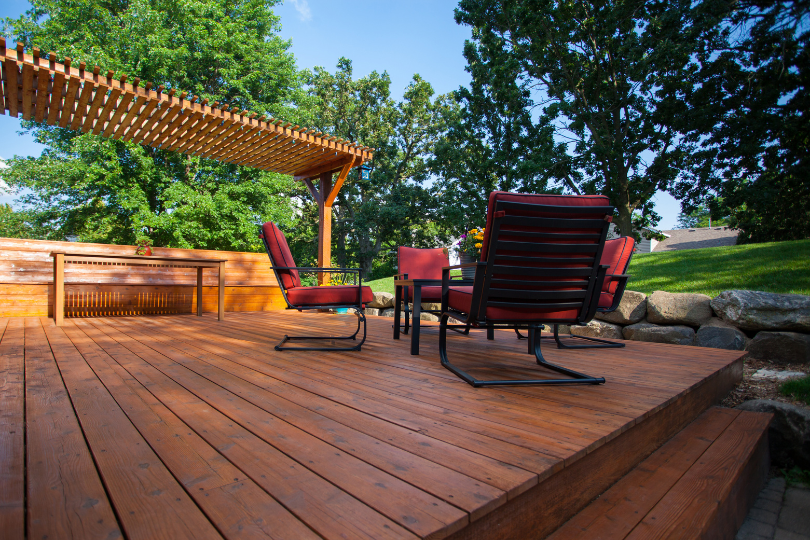
Maintain hardscape and set up patio furniture.
A well-designed and built hardscape should last for years without any major issues, but you’ll want to perform some spring maintenance after a long, cold winter.
Walkways: Check your walkways for cracking or signs of damage and make any necessary repairs. Remove any weeds that may have started growing.
Patios: Check for any cracks or signs of erosion and make necessary repairs. Clean the deck or patio with a broom to remove any leaves, moss, lichen, or algae, and wash with water to avoid discolouration. Let it dry out completely and apply a sealant or stain for protection. Remove patio furniture from storage and clean or repair any worn-out pieces.
Lights: Clean any light fixtures and replace burned-out bulbs.
To ensure you never miss home maintenance tips and tricks from us, follow us at @cachetcommunities on Instagram.