Our Rendering to Reality series is designed to give you a behind-the-scenes look at how a Cachet home is crafted. Over the next 12 months, we’ll take you through every step of our homebuilding process, from rendering to interior selections through commencement and completion of construction for our new model home in Hamilton.
Watching a model home come to life is an exciting process, and the interior selections phase is one of the most notable and rewarding parts of the journey. This month, we’re giving you a behind-the-scenes look at the design process.
Design Vision
It all starts with a vision for the project. For our Hamilton model, we partnered with Crystal Collinson Interiors for the interior design. Our Director of Design Studio and Marketing Team collaborated with Crystal and her team to establish a design vision for the model home.
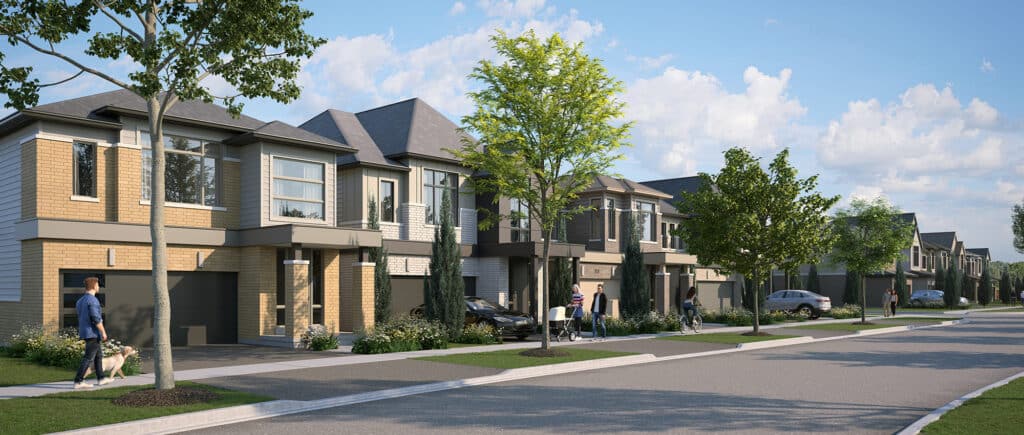
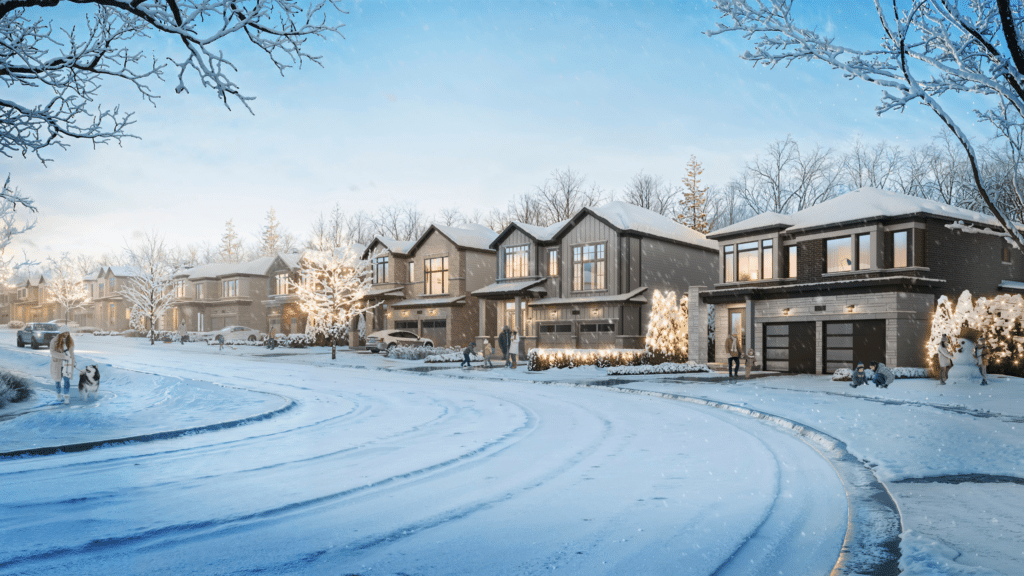
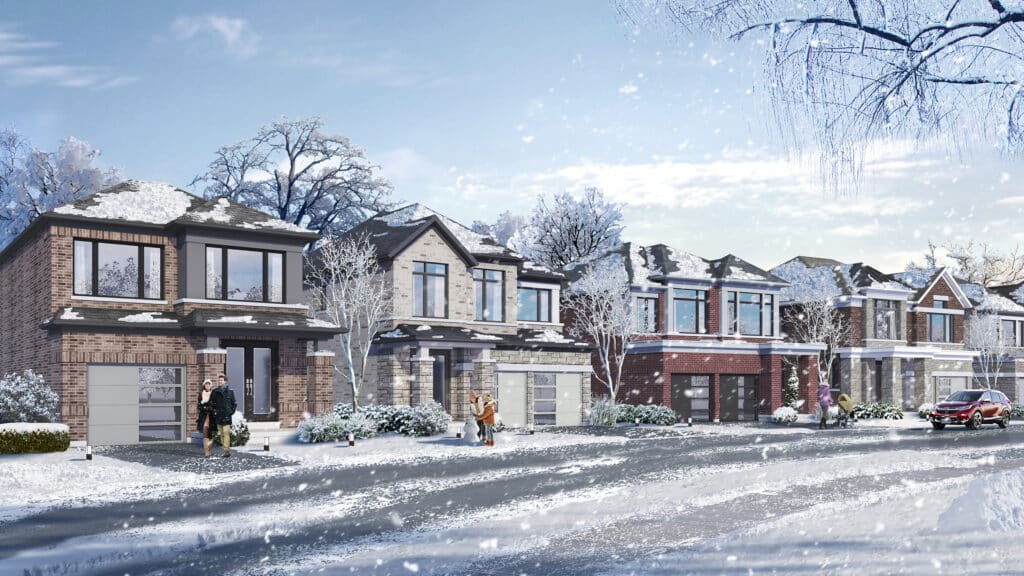
Since Cachet Binbrook’s focus is to offer the best of modern family living, we wanted the model home’s design to be clean and sophisticated while also being family-friendly and approachable.
Look and Feel
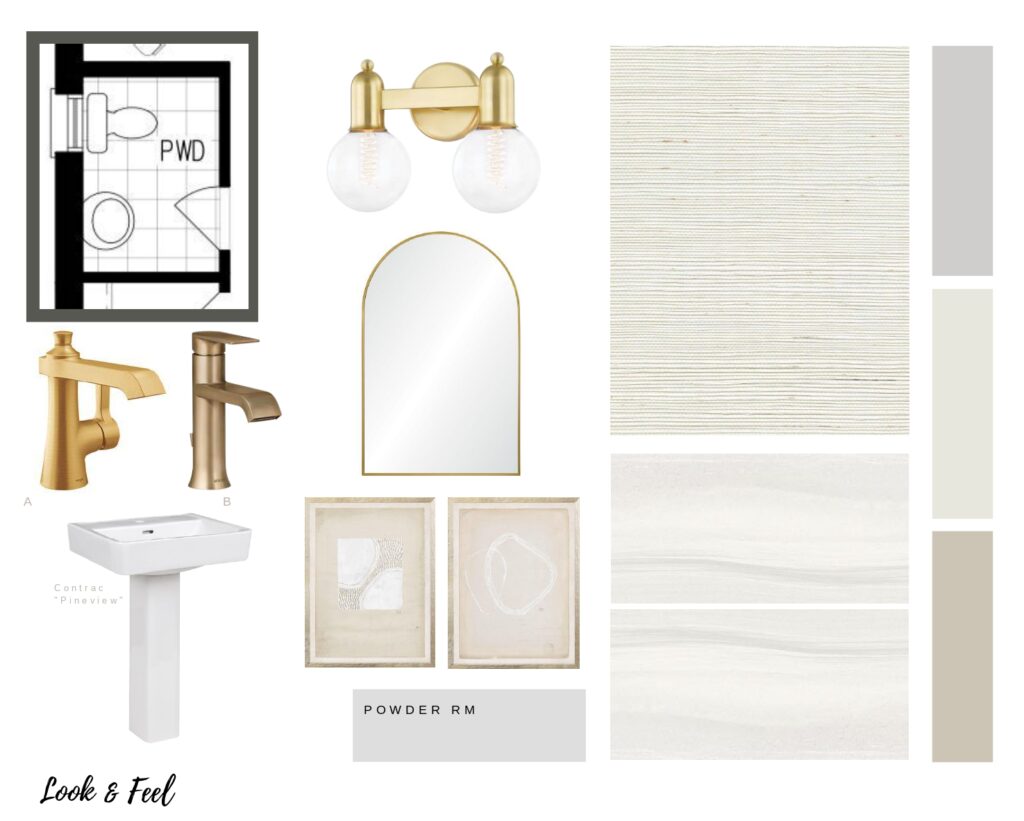
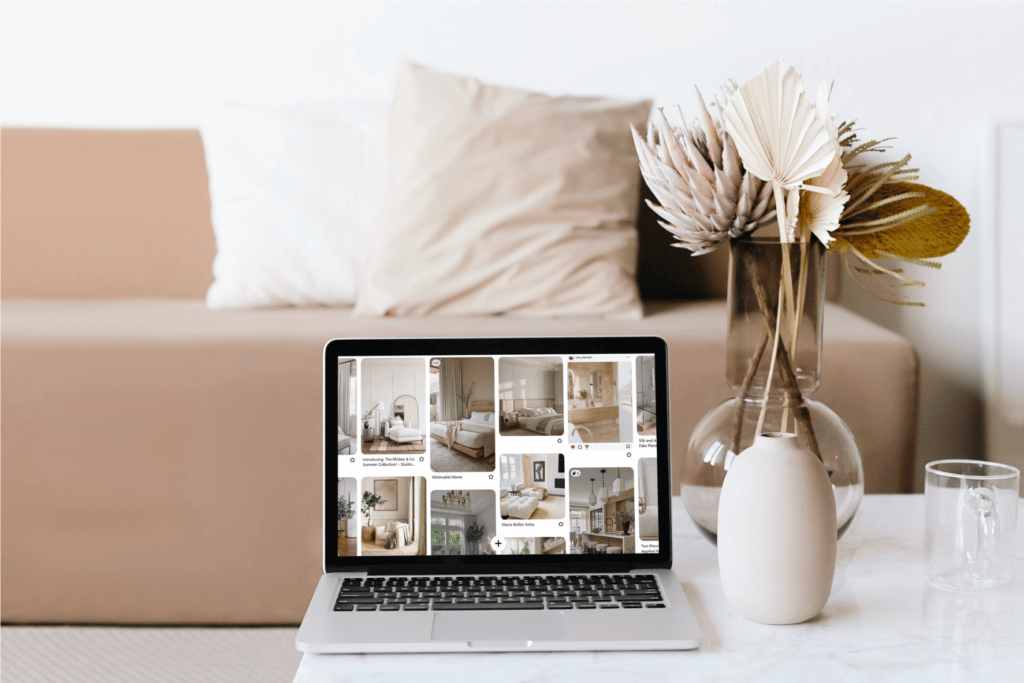
With our design vision established, we collaborated with Crystal to create a look and feel for the model home’s design. We used a Pinterest board (check out Cachet Homes’ Pinterest account for inspiration) to share our vision, then elaborated on the vision with a series of mood boards.
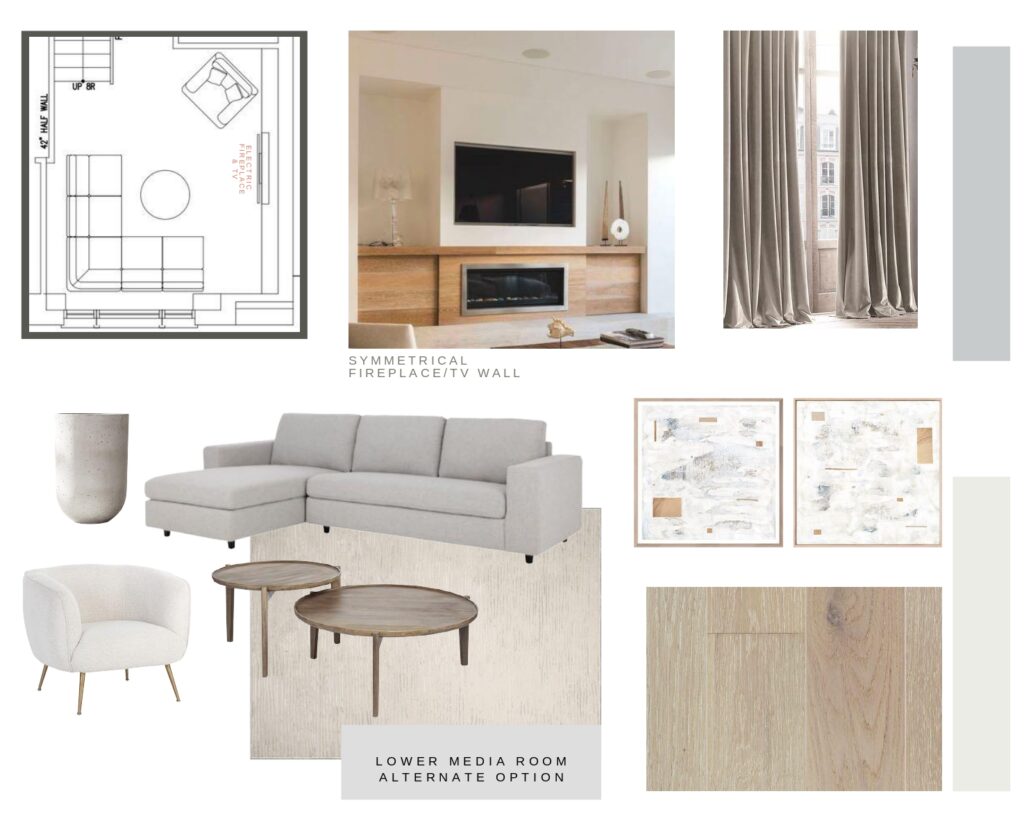
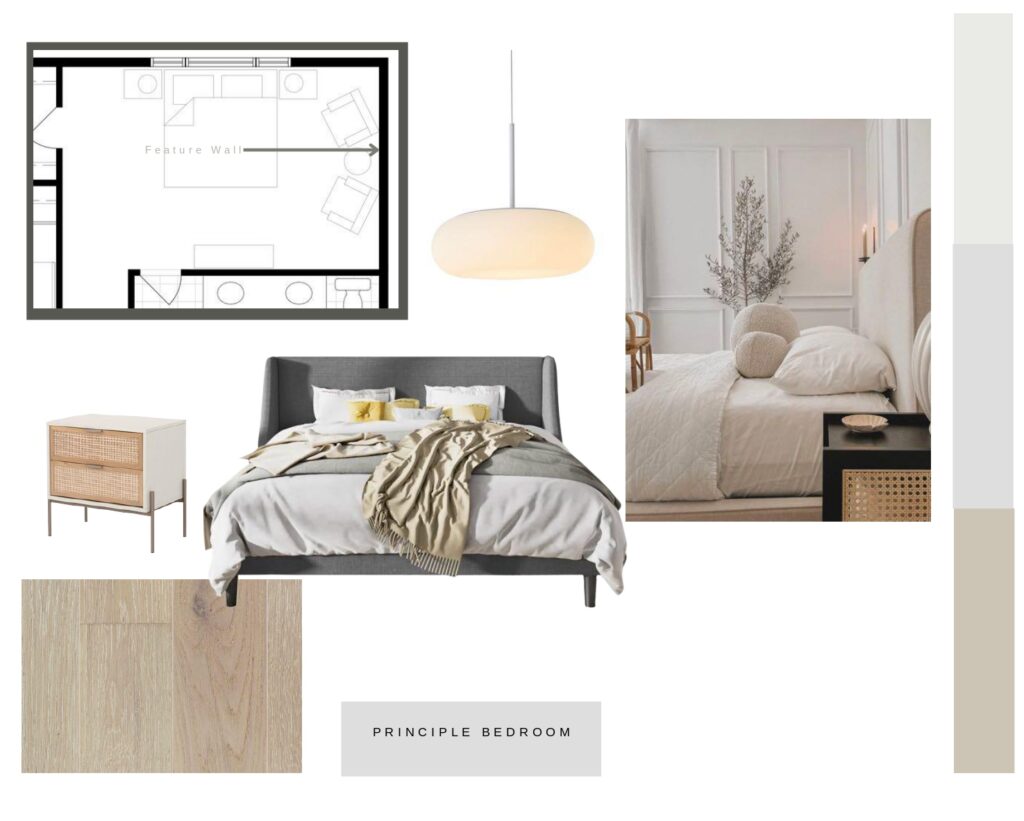
To capture the modern, sophisticated design direction for this model, the vision boards focused on a light and airy feeling with a lot of white oak, neutral colours, reeded/fluted tambour panelling, mid-century and modern furniture pieces with curved lines, gold detailing, natural textiles, and unique light fixtures. We created a distinctive look and feel for all of the main rooms, including the foyer, powder room, living room, dining room, kitchen and breakfast area, principal bedroom and ensuite, and lower media room.
Interior Selections Process
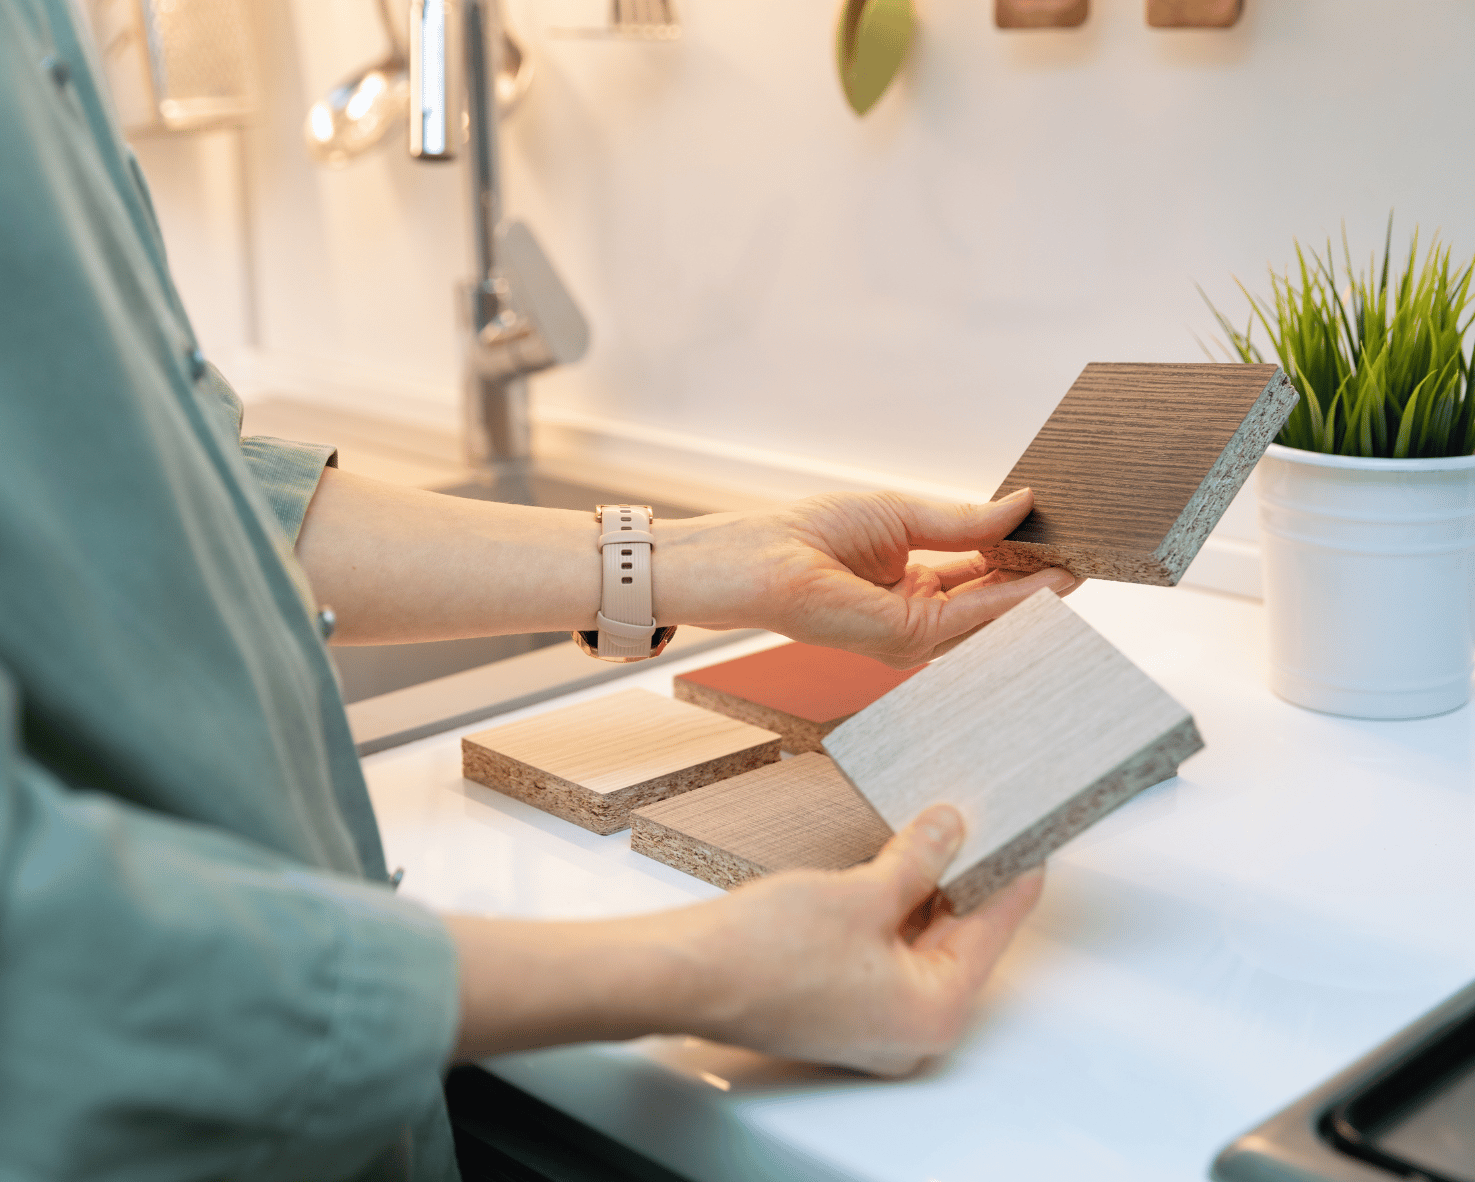
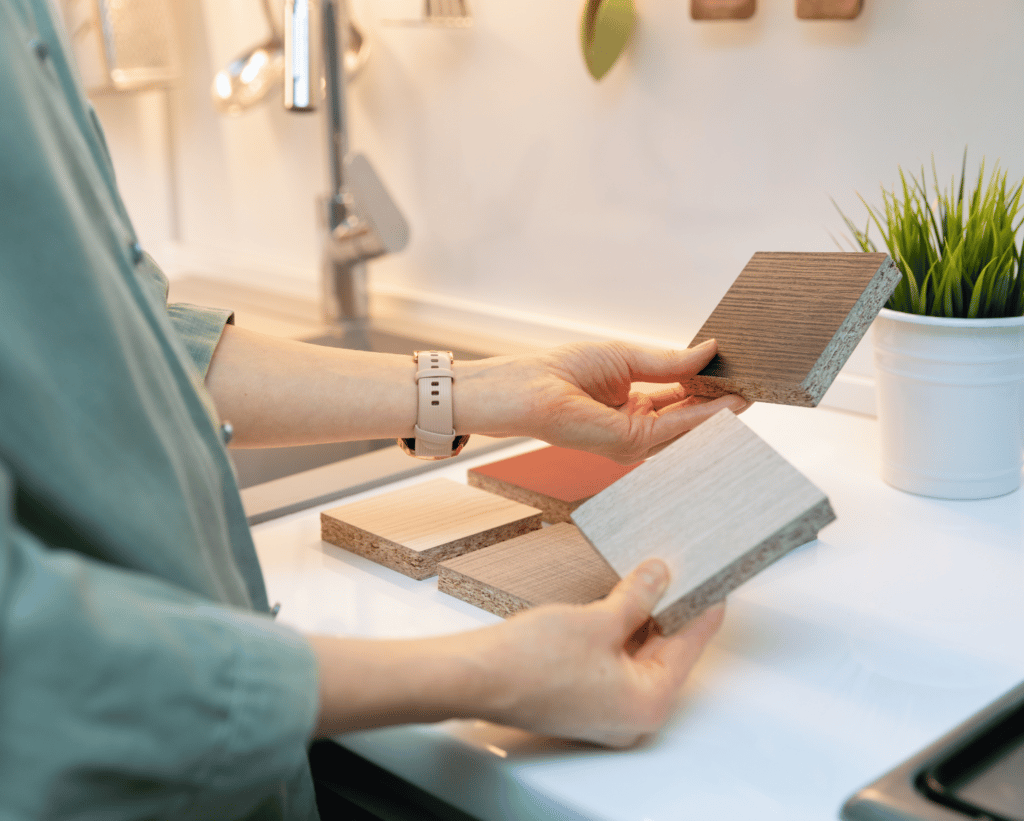
With the look and feel established, we began selecting the features and finishes for the model home. Our team worked closely with Crystal to decide which features and premium options would be included in the model. Some examples are ceiling details, built-in appliances, and upgraded cabinetry.
Once all the features and finishes were selected from our Design Studio, Crystal’s team presented elevations for approval. Upon approval, working drawings were then prepared, which were issued to our Building Team for construction to commence.
Join us next month as we continue our Rendering to Reality series. To stay updated on our latest news and community releases, follow us on Facebook and Instagram.
Read More from This Series:
Building a Model Home
Choosing the Home Design & Floor Plan
The Land Development Process
The Hone Construction Process